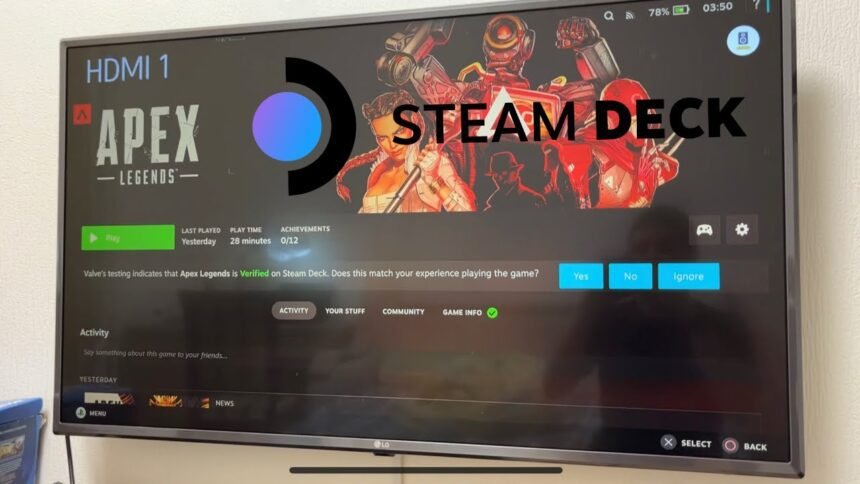
The Steam Deck’s portable form factor and gaming power make it incredibly versatile. While it shines as an on-the-go handheld, Valve’s Linux machine is also designed to easily output to bigger screens. With the right cables or dock, you can effortlessly connect your Steam Deck to a monitor or TV for couch gaming or a living room console experience. Here’s how:
Using a USB-C Hub or Dock
The easiest way to output to an external display is by using a USB-C hub or dedicated docking station made for the Steam Deck. Official Valve-approved options like the JS Altecon Steam Deck Dock or JSAUX Docking Station provide HDMI or DisplayPort video output, ethernet, USB ports, and power pass-through in a single unit.
Simply connect your dock to the Steam Deck’s USB-C port, then run an HDMI cable from the dock to your monitor/TV. The Deck will automatically extend or mirror its display. You may need to go into the Display settings to select your preferred resolution and display mode.
Direct HDMI or USB-C Connection
You can also connect directly from the Steam Deck to a display using the right cables, no dock is required. For HDMI, use a USB-C to HDMI cable or adapter, plug into the Deck, and then connect the HDMI end to your monitor/TV.
Alternatively, the Deck’s USB-C port supports DisplayPort Alt Mode, so a USB-C to DisplayPort cable will work as well if your display has a DisplayPort input.
Resolution and Scaling Options
The Steam Deck outputs at up to 4K@120Hz or 8K@60Hz resolutions, so high-res monitors are well supported. In the Quick Access Display menu, you can choose stretch display mode to automatically scale the Steam OS interface or games to your external display’s native resolution.
With the right cables or hub and some simple setup, the versatile Steam Deck transforms into an excellent living room PC gaming machine connected to a big-screen TV or high-resolution monitor. The open nature of the hardware gives you the flexibility to pick your preferred display output method.


