Previously, installing non-Steam games on Valve’s Steam Deck was a little difficult. By automatically integrating non-Steam retailers into Proton, NonSteamLaunchers streamlines the process.
It’s perhaps the easiest setup we’ve come across. For this to work, you must be in desktop mode. Follow these steps to arrive there swiftly:
- Press the Steam icon.
- Move Toward Power
- On “Switch to desktop,” click.
Now open the project’s Github page in your preferred web browser.
You can download the script from this page (it’s the large, vibrant button). Double-clicking it will launch it after you’ve transferred it somewhere outside of your Downloads folder.
How to install NonSteamLaunchers by hand
- Following the download, a menu will show up.
- Make sure to install and update Proton-GE before ticking any boxes.
- To avoid a “Shortcut Creator,” press cancel if one appears.
- After the menu has been updated, choose the boxes next to each launcher you wish to install.
- Once finished, restart the device or use the Desktop icon to return to Gaming Mode.
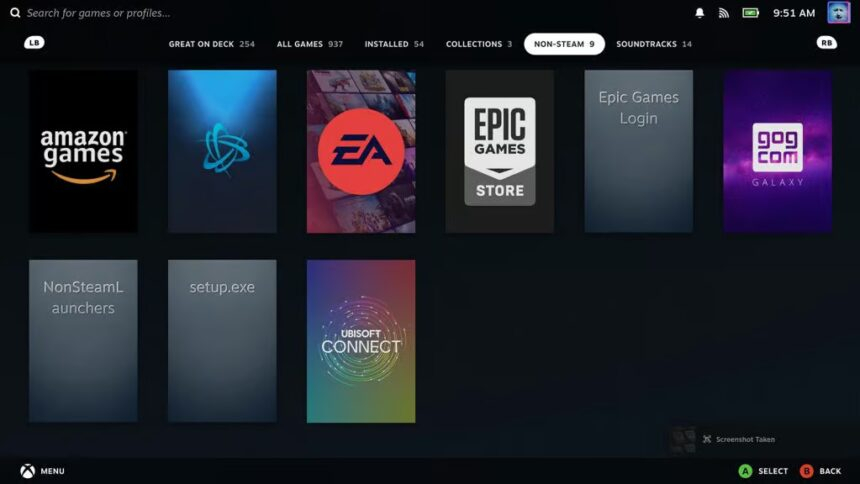
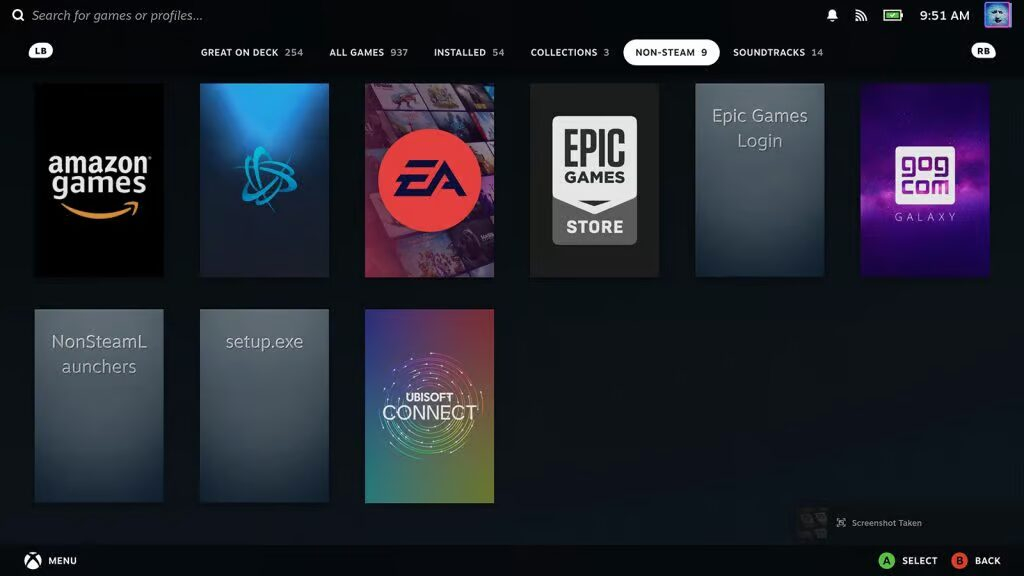
- You’ll find all of your new launchers under Non-Steam Games.
Setup for NonSteam Launcher
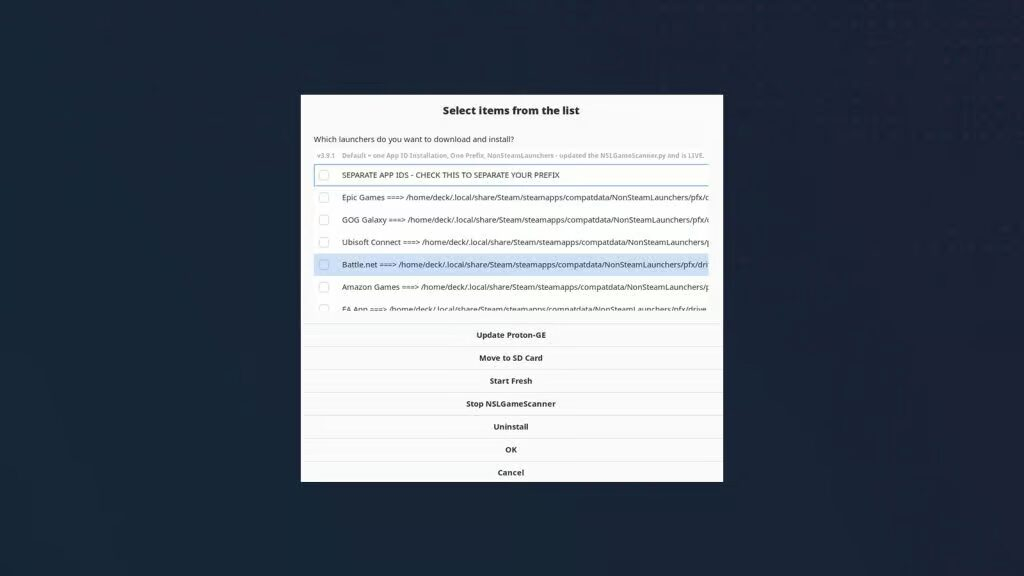
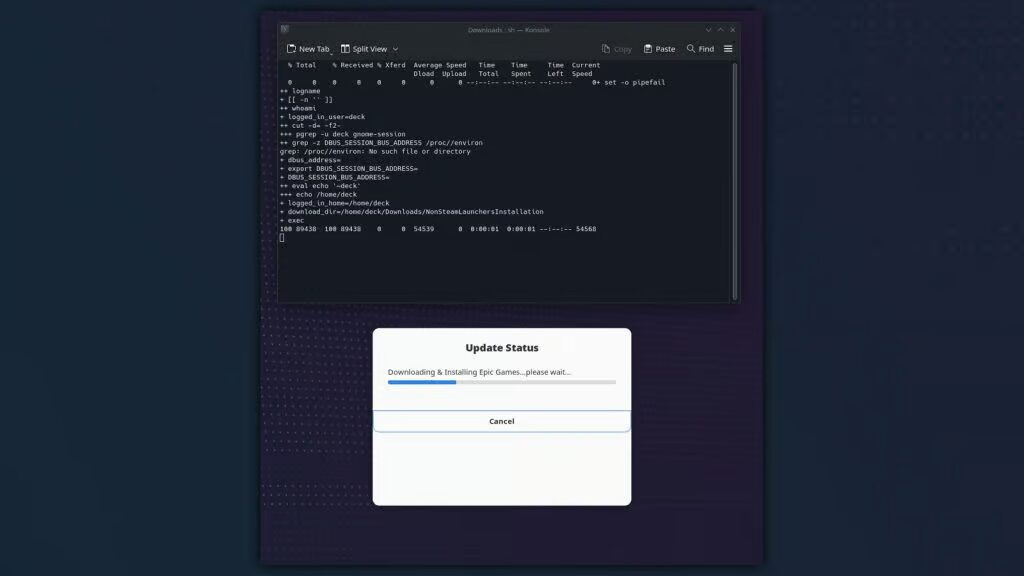
A menu with options on what to do will be presented to you. Make sure we’re up to date and prepared by clicking the “Install Proton-GE” button at the top first.
You can now tick any item in the list of launchers after waiting for Proton-GE to install. These range from well-known companies like EA and Epic to itch.io, which serves as the home base for independent creators.
NonSteamLauncher will automatically set up the Proton environments for each launcher after you click “install.” It will group them all together under the same environment by default, but you may use the check box at the top to separate these.
This is only necessary if you plan to relocate the files generated by each launcher to the appropriate location on the device or in external storage.
You can return to Gaming Mode by restarting your device or by clicking the icon on your desktop once the installation is finished.
All of the launchers you chose are represented by icons under “Non-Steam Games” in your library. These will launch the game’s real launchers, simulating a Windows launcher.
Since Proton is essentially a Windows emulator, NonSteamLauncher handles the setup labor intensively. Rather than depending on external launchers such as Lutris and Heroic, or API keys, it merely simulates the store within this simulated Windows environment.
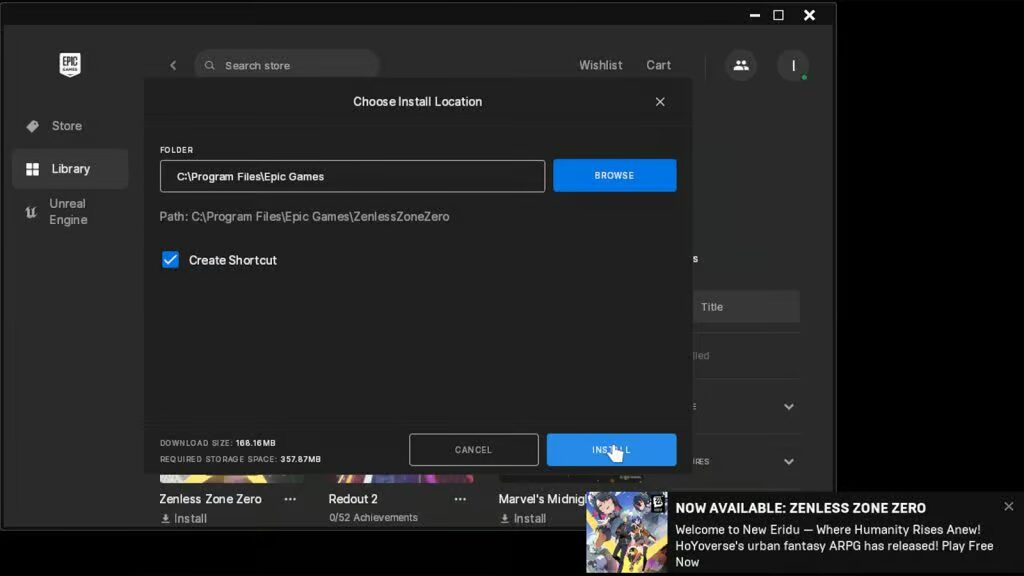
This is the reason why the specified location will still be listed as a Windows file structure when you try to install something using Epic.
Now that you have this installed, you can play games that you previously believed to be inaccessible. This includes Genshin Impact and Zenless Zone Zero, the most recent game by MiHoYo.
How to use Decky Loader to install NonSteamLaunchers
- Install and download Decky Loader.
- To access Decky, click the “Quick Access” option.
- To access the plug icon, scroll down.
- Choose the shop icon.
- In the text field, type and search “NonSteamLaunchers.”
- When prompted, choose “install.”
- Going back to Decky Loader
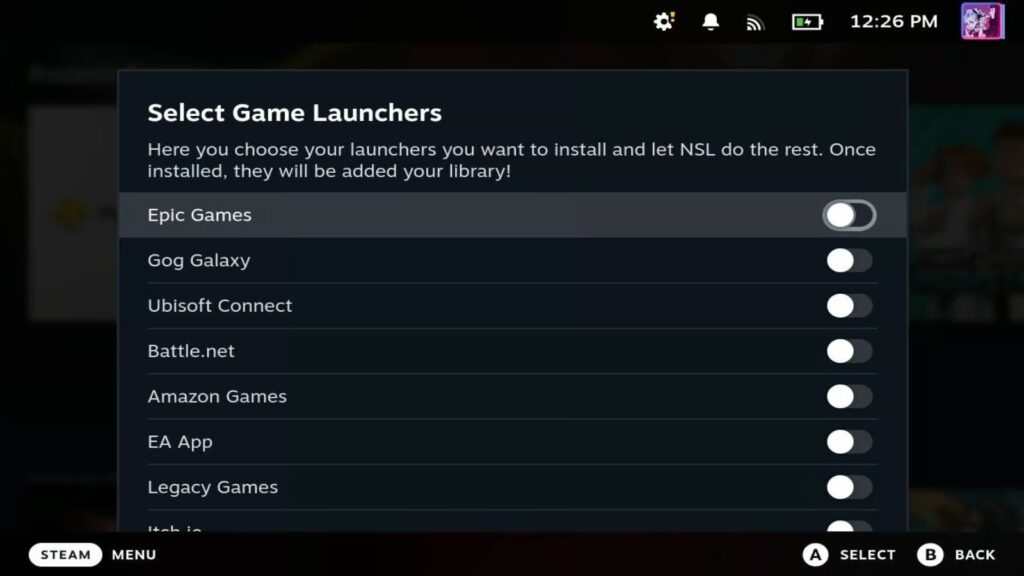
- Choose “Game Launchers” after selecting “NonSteamLaunchers.”
- Select the launchers that you wish to install.
Finally released from testing, the NonSteamLaunchers Decky plug-in is accessible to all Steam Deck users with Decky access.
If you already have Decky loaded on your portable device, installing the plug-in is as simple as accessing the Decky store and typing “NonSteamLaunchers” into the text box that appears.
After installation, a list of game launchers, including those from Epic Games, GOG Galaxy, and Amazon Games, will appear when you pick NonSteamLaunchers through Decky.
On your Steam Deck, you may turn on whatever launcher you choose from here. To install them on your portable device, choose “Install.”
Installing each launcher could take up to one minute, particularly if you’ve chosen several. Every game launcher will thereafter be accessible via the “Non-Steam Game” area of your Steam library through your Steam Deck.


