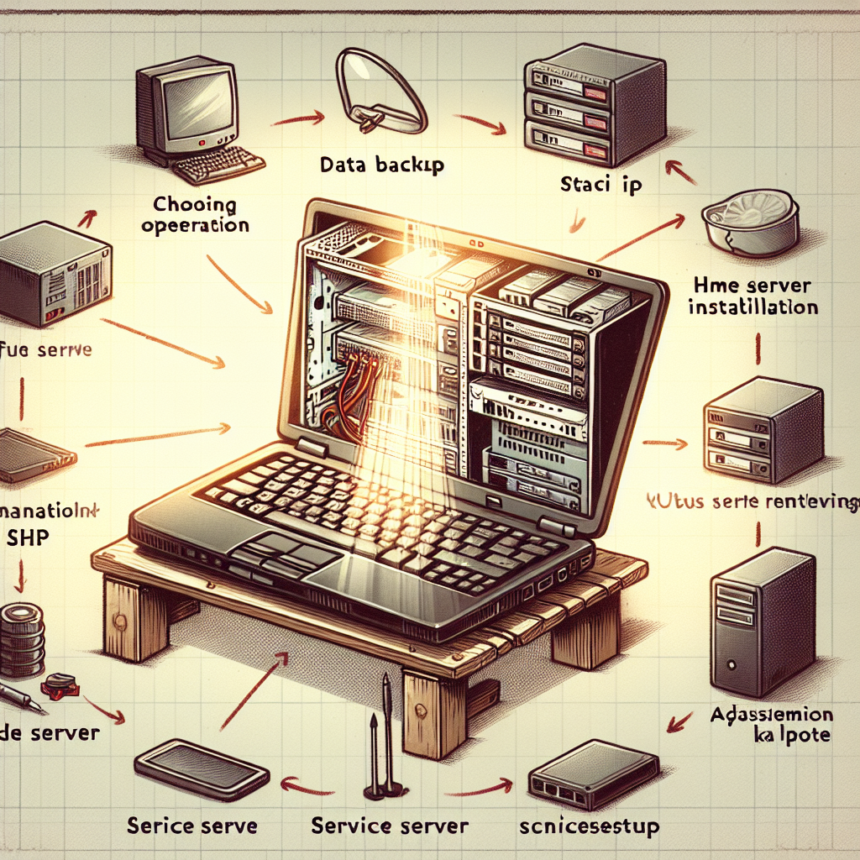
Do you have an old laptop gathering dust? Instead of letting it go to waste, why not repurpose it as a home server? With a few simple steps, you can transform that aging machine into a powerful and versatile server to handle various tasks for your home network. Here’s how to get started:
Choose the Right Operating System
The first step is selecting an appropriate operating system. For a home server, Ubuntu Server is an excellent choice[1]. It’s lightweight, stable, and doesn’t require a graphical user interface, making it perfect for older hardware. Download the latest LTS (Long Term Support) version of Ubuntu Server from the official website.
Prepare Your Laptop
Before installing the new OS, back up any important data on your laptop. Then, create a bootable USB drive with the Ubuntu Server ISO using a tool like Rufus or Etcher.
Install Ubuntu Server
Boot your laptop from the USB drive and follow the installation prompts. When asked about partitioning, you can choose to use the entire disk if you don’t need to dual-boot. Make sure to install the OpenSSH server when prompted, as this will allow you to manage your server remotely.
Configure Network Settings
For optimal performance, connect your laptop to your router via Ethernet if possible. If you must use Wi-Fi, ensure you configure it correctly during the installation process. After installation, set up a static IP address for your server to make it easier to access on your network.
Set Up Remote Access
Once the Ubuntu Server is installed, you can manage it remotely using SSH. From another computer on your network, use the following command to connect:
ssh username@server_ip_addressReplace “username” with your Ubuntu username and “server_ip_address” with the IP address of your server[1].
Install and Configure Services
Now comes the fun part – setting up services on your new home server. Here are some popular options:
- File Server: Install Samba to share files across your network.
- Media Server: Set up Plex or Jellyfin to stream your media collection to any device.
- Web Server: Install Apache or Nginx to host your own websites.
- VPN Server: Use OpenVPN or WireGuard to securely access your home network from anywhere.
- Backup Server: Configure automated backups for your other devices using tools like Restic or Duplicati.
Optimize for 24/7 Operation
Since your laptop will now be running constantly, make a few adjustments for longevity:
- Remove the battery if possible to prevent overcharging.
- Ensure proper ventilation to avoid overheating.
- Set up automatic updates to keep your system secure[1].
Consider Additional Hardware
Depending on your needs, you might want to expand your server’s capabilities:
- Add external hard drives for more storage.
- Use a USB Wi-Fi adapter if your laptop’s built-in Wi-Fi is unreliable.
- Connect a UPS (Uninterruptible Power Supply) to protect against power outages.
Secure Your Server
Don’t forget about security! Here are some essential steps:
- Keep your system updated.
- Use strong passwords and disable root login.
- Configure a firewall using UFW (Uncomplicated Firewall).
- Consider setting up fail2ban to protect against brute-force attacks.
By following these steps, you can breathe new life into your old laptop and create a powerful home server. Not only will you save money, but you’ll also gain valuable experience in server management and networking. So dust off that old machine and start building your very own home server today!


